Brewing the perfect cup of coffee starts with a clean coffee pot. Neglecting this essential step can not only affect the taste but also the lifespan of your coffee maker. In this guide, we’ll walk you through the detailed process of how to clean a used coffee maker with vinegar and pot effectively. From basic maintenance to tackling stubborn stains, we’ll cover it all. Let’s ensure your morning brew is always at its best!


Why Cleaning Matters
Your daily cup of coffee is only as good as the cleanliness of your coffee maker. Over time, coffee oils, grounds, and mineral deposits accumulate, affecting both the taste of tasting cup and performance of your machine.The Basics
Step 1: Gather Your Supplies
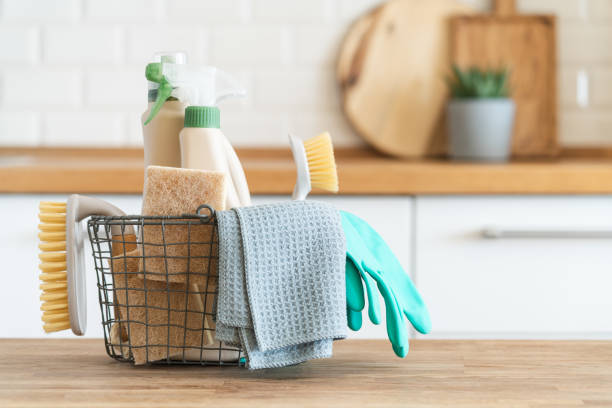
Before diving into the cleaning process, gather the necessary proper cleaning supplies:- White vinegar
- Baking soda
- Dish soap
- Warm water
- Soft cloth
- Paper filter
Step 2: Unplug and Empty
Always start by unplugging your coffee maker. Empty any remaining, clean your coffee maker, and if your machine has a removable filter, take it out.Step 3: Wash Removable Parts
Remove all removable parts like the carafe, filter basket, and drip tray. Wash them with warm, soapy water. For stubborn stains, a mixture of baking soda and very hot soapy water works wonders.Deep Cleaning
For a deep clean and more thorough cleaning, especially if your coffee maker has seen months of use without proper maintenance, follow these steps:Step 4: Vinegar Solution
Mix equal parts white vinegar and water. Fill the hot water or reservoir with this solution and run a brewing cycle without any coffee grounds. This helps eliminate mineral buildup and coffee oils.Step 5: Baking Soda Mixture
Create a paste using baking soda and water. Apply it to any stubborn stains or areas with visible buildup. Let it sit for a few minutes before scrubbing with a soft cloth.Tackling Specific Issues


